- Launch Visual Studio
- From the File menu, select New, and then click Project
- In the New Project dialog box, click either Visual C# or Visual Basic from the Project types list
- From the Templates list, click Windows Forms Application
- In the Name field, replace the default project name with the name of your project
Quick Start
In This Topic
This topic will give you a head start on creating great looking viewport for all of your Windows Forms applications.
Creating a new Windows Application Project
Adding the control to your Form
Add the control to your Windows Form by either double-clicking on the ViewportLayout toolbox icon (installed in the 'Eyeshot Ultimate 11' tab of the Visual Studio toolbox), or by clicking on the icon once then "drawing" the control onto the form using the left mouse button.

Figure 1: The ViewportLayout control in design-time mode.
Required using/Imports statements
Add the following using/Imports statements at the beginning of the Form1.cs file.
Customizing the Viewport
Select the Customize ViewportLayout control item from the control Smart Tag menu to open the Visual Control Designer window.

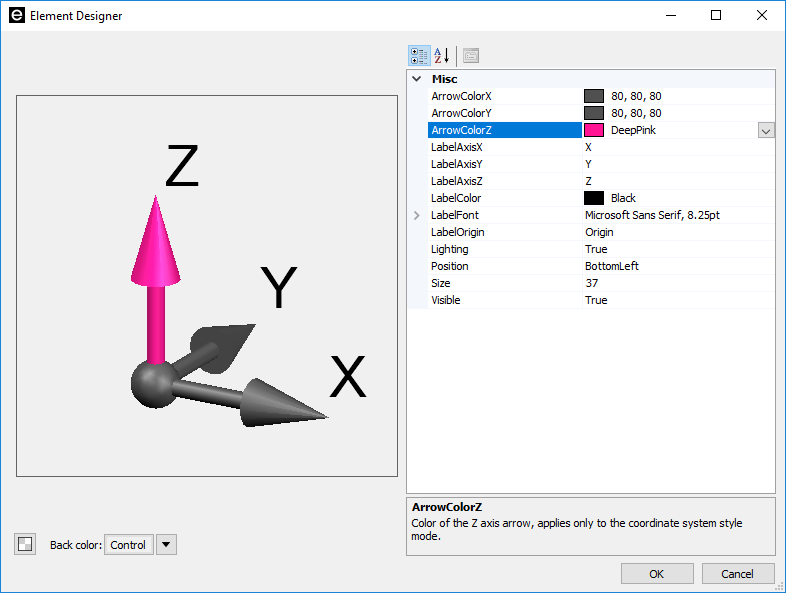
Right-click the CoordinateSystem tree node to open the Element Designer window.

Set Lighting property to true, change the Z arrow color and confirm.
Drawing a box
Add the following OnLoad() override, then build and start your application.
You should now see something like this:

Figure 2: Your first 3D drawing with Eyeshot.
Navigation quick commands:
- Middle mouse button combined with Ctrl or Shift keys to Zoom/Pan/Rotate
- Mouse wheel to Zoom
- Ctrl+F to fit the model in the viewport
Now it's your turn
Try adding more entities like lines, circles, etc. You'll find them in the devDept.Eyeshot.Entities namespace.
See Also